As the warmer months approach, it’s time to prepare your inground pool for a full season of enjoyment. A proper pool opening ensures clean, balanced water and prevents unnecessary maintenance issues. Yousky® is here to guide you through a smooth and stress-free pool opening process, ensuring that your pool is ready for fun, relaxation, and crystal-clear water.
Step 1: Gather Your Pool Opening Supplies
Before starting, collect everything you need to avoid unnecessary delays. Having all supplies ready streamlines the process, allowing you to focus on getting your pool in top condition.
Essential Chemicals:
- pH Increaser & Decreaser
- Alkalinity Increaser
- Calcium Hardness Increaser
- Metal Sequestrant
- Water Clarifier
- Chlorine Shock Treatment
- Pool Opening Kit (We recommend Yousky® Pool Start-Up Kit)
Necessary Equipment:
- Pool Cover Pump
- Leaf Blower, Leaf Net, or Soft Broom
- Winter Cover Cleaner
- Pool Gasket Lubricant
- Thread Seal Tape
- Skimmer Net
- Garden Hose with Filter
- Pool Brush & Vacuum
- Safety Goggles & Chemical-Resistant Gloves
- Water Testing Strips or Digital Test Kit
Step 2: Remove Debris from Your Pool Cover
Your pool cover has likely accumulated leaves, dirt, and water over the winter. To prevent contaminating your pool, follow these steps:
- Solid Covers: Use a Yousky® Pool Cover Pump to remove excess water, then gently sweep debris off with a soft broom or leaf blower.
- Mesh Covers: Use a skimmer net or brush to clear off debris before carefully removing the cover.
- Important Tip: Avoid using sharp tools that may damage your pool cover. Instead, opt for a leaf skimmer or soft brush.
Step 3: Remove and Clean Your Pool Cover
Enlist a helper to remove your cover smoothly, minimizing debris falling into the pool. Once removed:
- Spread the cover on a flat surface and apply a Yousky® Pool Cover Cleaner.
- Gently scrub with a soft broom and rinse thoroughly.
- Let it dry completely before folding and storing in a sealed container to protect it from pests and moisture damage.
Step 4: Skim the Pool and Remove Winterizing Plugs
With the cover off, skim any debris that may have fallen into the pool. Next, remove all winterizing plugs and ice compensators from skimmers and return lines. Expect to see some bubbles as water re-enters the pipes, which is completely normal.
Step 5: Reassemble Pool Equipment
Reconnect any components that were removed for winterization:
- Filtration System: Reinstall the pump, filter, and heater.
- Accessories: Reattach ladders, diving boards (apply hinge lubricant), slides, and pressure gauges.
- Skimmer Basket: Replace with a clean, debris-free basket for proper filtration.
Ensure all parts are secured and properly sealed with Yousky® Pool Gasket Lubricant and Thread Seal Tape.
Step 6: Refill Your Pool Water
Top off your water level using a garden hose with a filter attachment to minimize introducing debris. The water should reach halfway up your skimmer opening for optimal circulation.
Step 7: Start Your Pump and Filter System
- Replace all drain plugs in the pump and filter.
- Lubricate O-rings and inspect for cracks; replace if necessary.
- If antifreeze was used, set the multiport valve to “waste” and run the pump briefly to flush it out.
- Open return valves and turn on the system, checking for leaks or air pockets.
Step 8: Brush, Vacuum, and Remove Any Remaining Debris
- Brush the Pool Walls and Floor to dislodge dirt and algae.
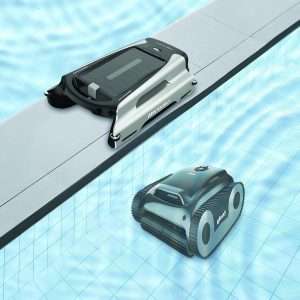
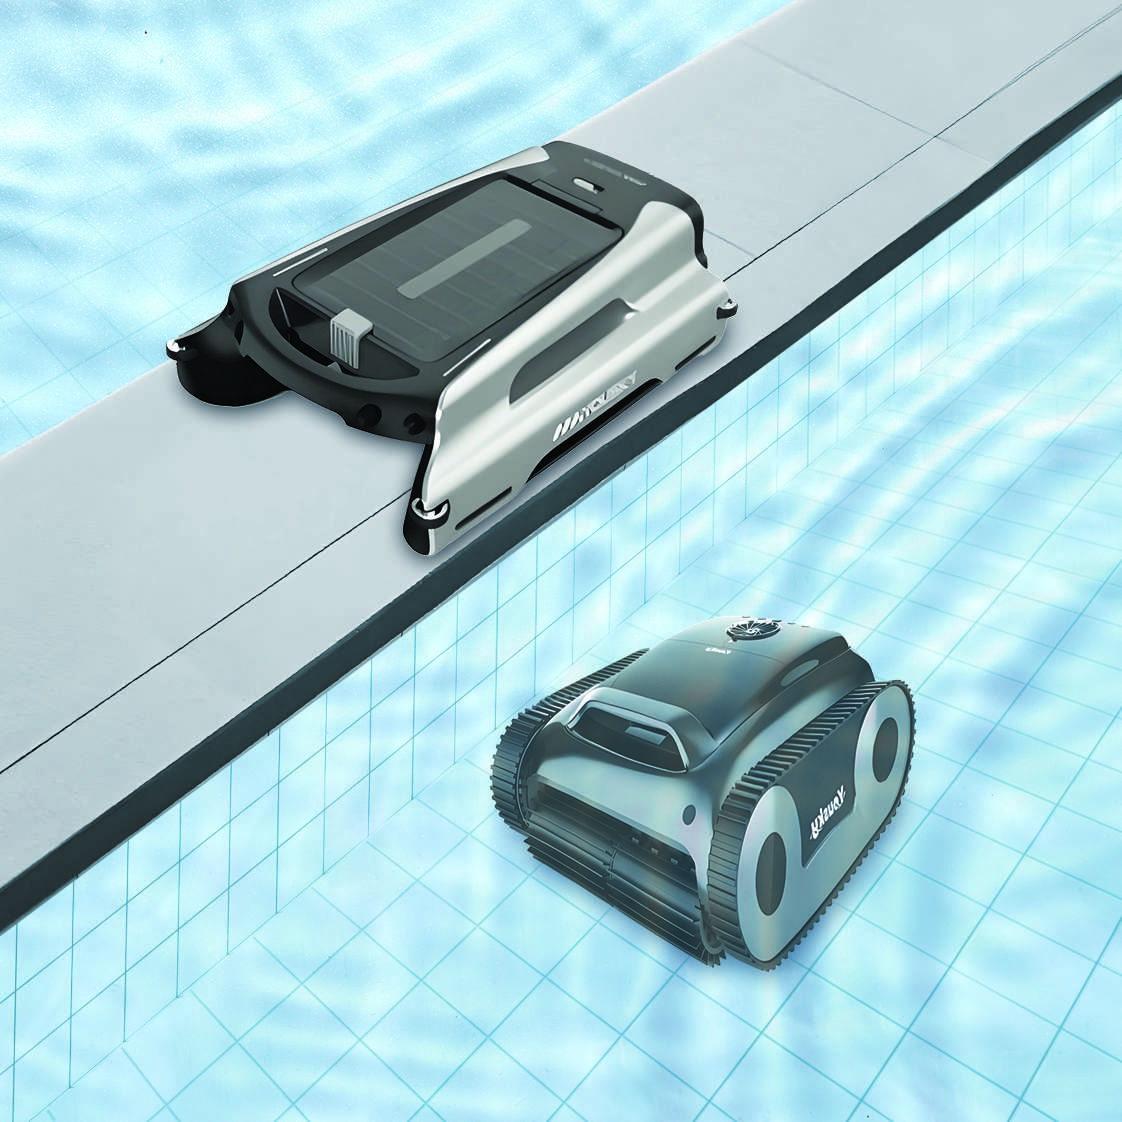
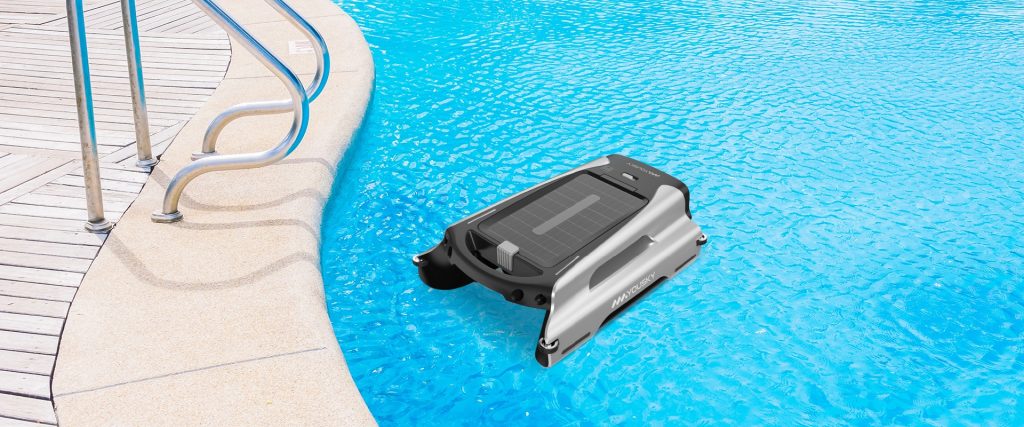
- Vacuum the Bottom using a manual vacuum or Yousky® Robotic Pool Cleaner.
- Use an Automatic Pool Cleaner for thorough debris removal without extra effort.
Step 9: Balance Water Chemistry & Treat Metals
Test and adjust water chemistry in this order:
- Alkalinity: 80-120 ppm
- pH: 7.2-7.6
- Calcium Hardness: 200-400 ppm
- Metals: If elevated, add a Yousky® Metal Sequestrant to prevent staining.
Step 10: Shock Your Pool
Shocking eliminates bacteria and algae buildup.
- Use 2 pounds of chlorine shock per 10,000 gallons of water.
- Apply at night to prevent UV breakdown.
- Run the filtration system continuously for 24 hours.
Step 11: Add Salt (For Saltwater Pools)
Once chlorine levels stabilize, add the appropriate amount of pool-grade salt and activate your saltwater generator.
Step 12: Final Testing and Cyanuric Acid Adjustment
Re-test your pool water after 24 hours and adjust Cyanuric Acid levels (30-50 ppm) to stabilize chlorine effectiveness. Add chlorine tablets to maintain sanitization.
Final Safety Checks
Before diving in, ensure:
- Pool deck is clean and free from chemical residue.
- Gates and safety alarms are functional.
- Pool chemicals are properly stored away from children and pets.
Enjoy Your Pool with Yousky®!
Your pool is now open and ready for a season of relaxation and fun! By following these steps and using Yousky® high-quality pool maintenance products, you can ensure a pristine swimming experience with minimal hassle.
Looking for more pool care tips? Explore our website for expert guides, maintenance solutions, and top-rated pool equipment!