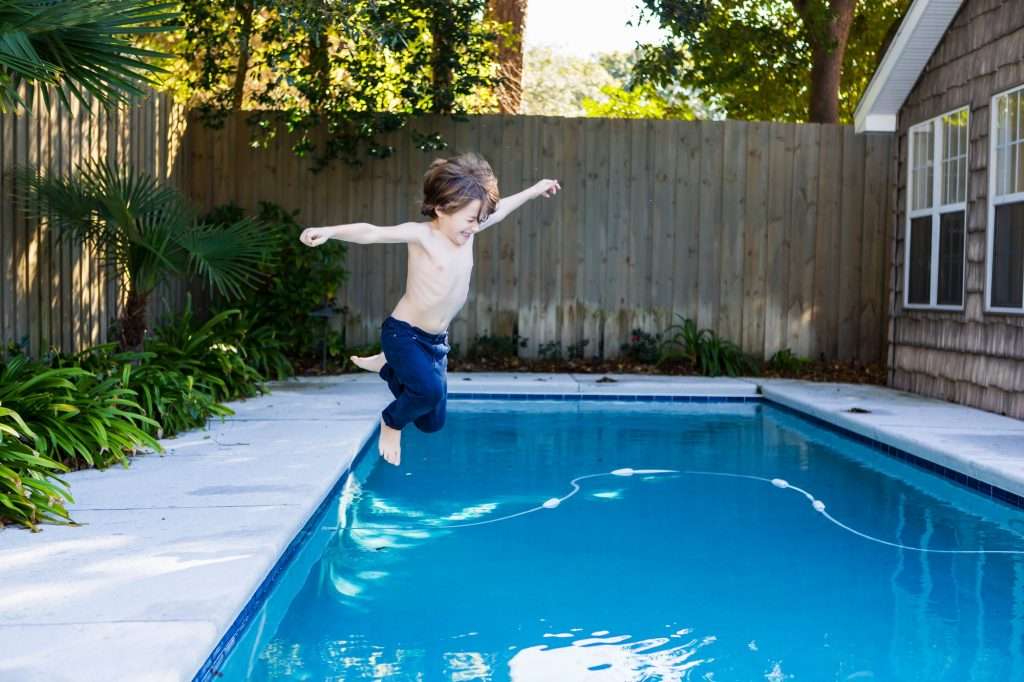
The joy of summer starts with a refreshing pool!
On a blazing hot afternoon, nothing feels better than diving into your own backyard pool. Crystal-clear water sparkles under the sun, children’s laughter echoes over the surface – as you swim freely, all the stress of the day melts away. Whether it’s a family gathering, a fun party with friends, or simply a peaceful moment floating alone in the breeze,your pool becomes one of summer’s most treasured memories.
But did you know? To enjoy a perfect “ready-to-swim” pool all season long, you can’t skip the proper opening steps! From equipment checks and water testing to balancing chemicals – every step matters for a safe and enjoyable swim experience.
In this article, we’ll walk you through: How to properly open your pool and enjoy a refreshing, worry-free summer!
🧰 I. Pre-Opening Equipment Inspection (Step-by-Step)
- Check Pool Pump and Filter
- Pool-Pumpe: Ensure the power connection is secure; check for rust or resistance in the motor. Gently rotate the fan blade to ensure smooth movement.
- Filter (Sand / Cartridge / DE):
- Check if the tank is sealed properly;
- Ensure the pressure gauge is functional;
- Check if the multiport valve turns smoothly without sticking.
- Inspect Plumbing and Valves
- Examine all PVC pipes for cracks, leaks, or aging;
- Make sure ball valves open and close freely;
- Reinstall any drain plugs removed for winterization (commonly found on the pump, filter, and heater).
- Restore Chemical Feeders and Heaters
- If using a chlorinator oder Poolheizung:
- Check for stagnant water, foul smells, or blockage;
- Reconnect inlet and outlet pipes;
- Verify power supply and temperature settings.
🧼 II. Cleaning and Refilling the Pool (Step-by-Step)
- Safely Remove the Pool-Abdeckung
- Drain any standing water with a pump or siphon before removing the cover;
- Use a broom or pressure washer to clean off leaves and dirt;
- Let the cover dry fully in a shaded, ventilated area before folding and storing.
- Clean the Pool Interior
- Verwenden Sie eine leaf skimmer to remove surface debris (leaves, insects, etc.);
- Scrub the walls and floor of the pool with a brush, focusing on corners and waterline stains;
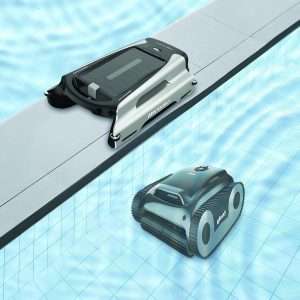
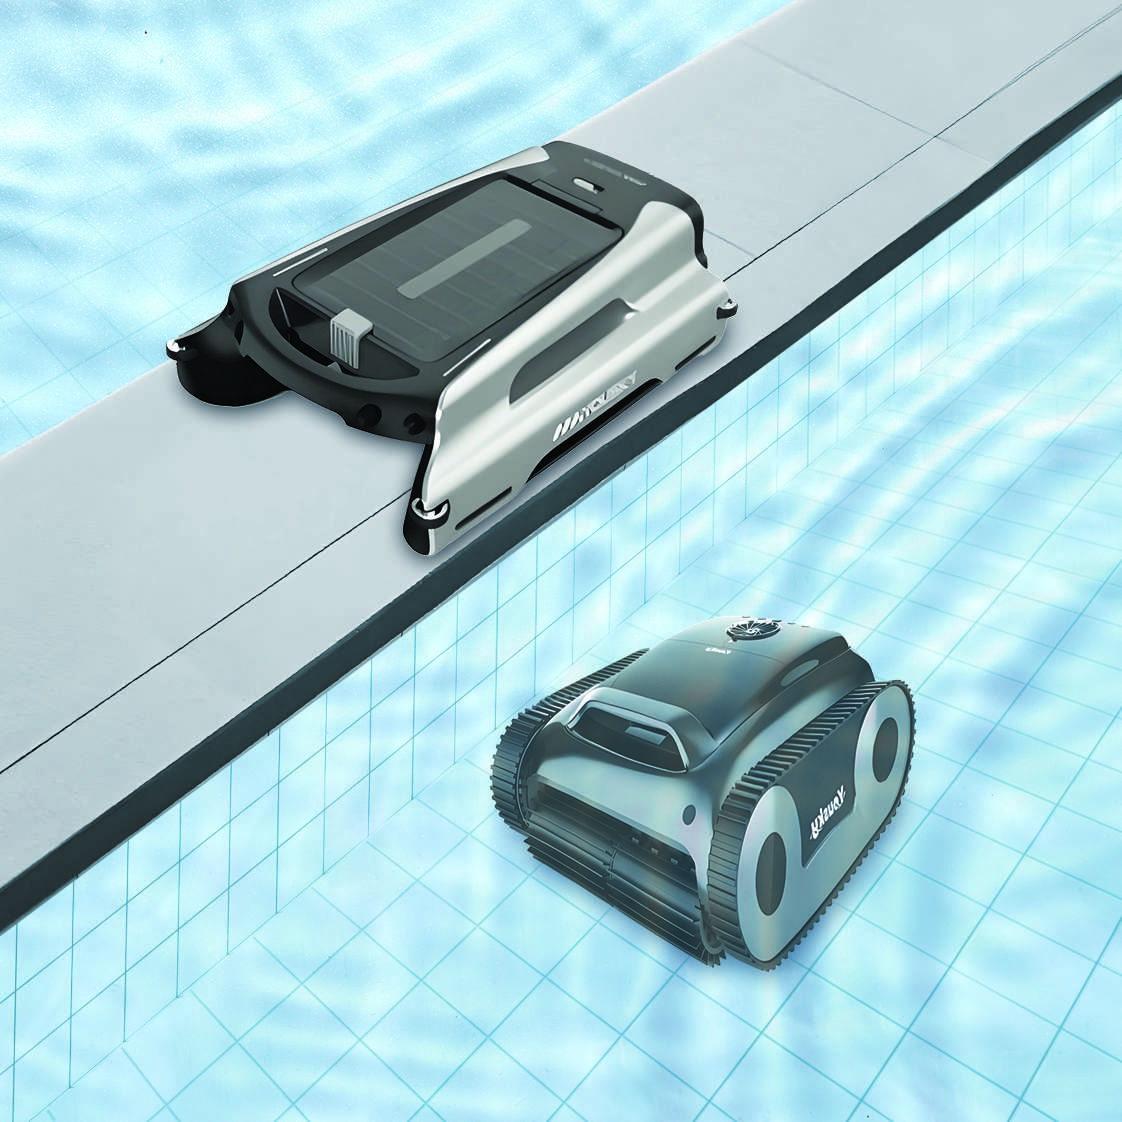
- Verwenden Sie eine manual vacuum oder Reinigungsroboter to remove settled dirt from the bottom.
- Refill the Pool to Standard Water Level
- Refill the pool to mid-level of the skimmer or return inlet;
- Avoid overfilling to prevent chemical dilution;
- Verwenden Sie eine garden hose to add fresh water—preferably tested or filtered water if possible.
🧪 III. Water Testing and Chemical Balancing (Step-by-Step)
- Test Pool Water
Use one of the following tools:
- Test Strips: Dip and match colors for a quick check;
- Liquid Test Kit: Drop-based and more accurate;
- Digital Water Tester: Highly precise, ideal for professional or frequent testing.
Recommended levels:
| Parameter | Ideal Range | Notes |
| pH Level | 7.2 – 7.6 | Low pH causes corrosion; high pH weakens chlorine |
| Free Chlorine | 1 – 3 ppm | Essential for disinfection |
| Total Alkalinity | 80 – 120 ppm | Buffers pH fluctuations |
| Kalziumhärte | 200 – 400 ppm | Prevents scaling and corrosion |
| Cyanuric Acid (CYA) | 30 – 50 ppm | Stabilizes chlorine under sunlight |
- Add Chemicals as Needed
- pH-Anpassung: Use pH Increaser (Sodium Carbonate) or Decreaser (Sodium Bisulfate);
- Alkalität: Add Baking Soda or pH reducer as necessary;
- Chlorine: Add chlorine tablets or liquid bleach to meet target levels;
- Schockbehandlung:
- Use fast-dissolving chlorine shock or non-chlorine shock;
- Follow dosage instructions and spread evenly across pool;
- Run pump for 8+ hours; do not swim during this period.
🔄 IV. Start Up the Filtration and Circulation System
- Prime and Start the Pump
- Ensure the pump housing is filled with water;
- Open all air relief valves to remove trapped air;
- Power on the system and observe for steady water flow;
- Check for leaks or unusual noises.
- Filter System Check
- Sandfilter: Perform a backwash und rinse before use;
- Cartridge Filter: Rinse cartridges with a hose or replace if worn;
- DE Filter: Recharge with fresh diatomaceous earth powder after cleaning.
⚠️ V. Safety Tips and Operational Advice
Safety Precautions
- Always dry hands before handling electrical controls;
- Wear gloves and mask when handling pool chemicals;
- Ensure outlets and electrical components are GFCI protected.
Useful Tips
- Run the pool system continuously for 24 hours after startup;
- Schedule daily circulation of 8–12 hours for optimal water clarity;
- Verwenden Sie clarifiers if water appears cloudy before vacuuming;
- If algae appear, add algaecide to eliminate growth.
✅ Ongoing Weekly Maintenance Recommendations
| Frequency | Task | Description |
| 1–2x/week | Water Testing | Test pH, chlorine, and alkalinity |
| Weekly | Add Maintenance Chemicals | Chlorine tabs, stabilizers, etc. |
| Weekly | Skimming & Vacuuming | Remove debris, clean floor and walls |
| Monthly | Schockbehandlung | Deep clean with chlorine shock |